
In a previous post I promised a tutorial for making lots of half square triangles (HST’s) from fat quarters, so here goes. First, I would like to emphasize that accuracy is of the utmost importance, in marking, sewing and cutting. Also, this is still producing HST’s, so it is still time consuming, but it is organized, systematic and produces scads of HST’s from one process.
Press two fat quarters, a dark and a light:

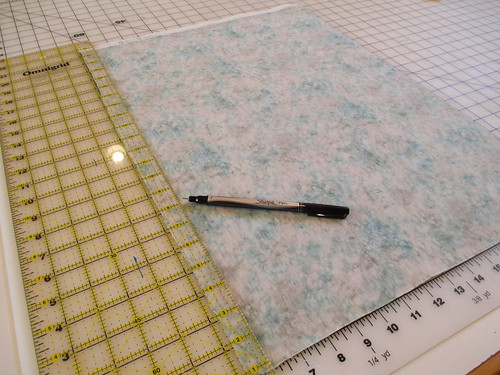
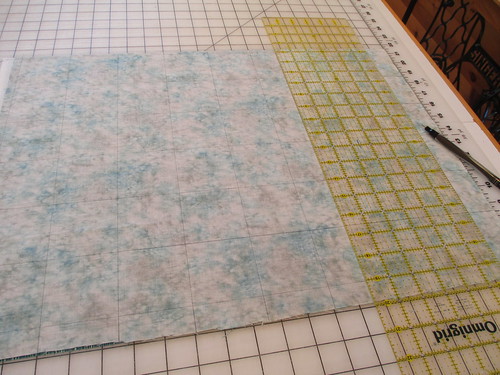
Align them right side together with the dark fat quarter on the bottom facing right side up and with the light fat quarter on the top facing right side down:

Align one short edge of the stacked fat quarters with the bottom line on your cutting mat. Use a 24 inch cutting ruler and a fine marker to draw a line at a right angle to the bottom edge. This line serves the same purpose as a “clean up cut” would. Make sure that both fabrics are under this line:
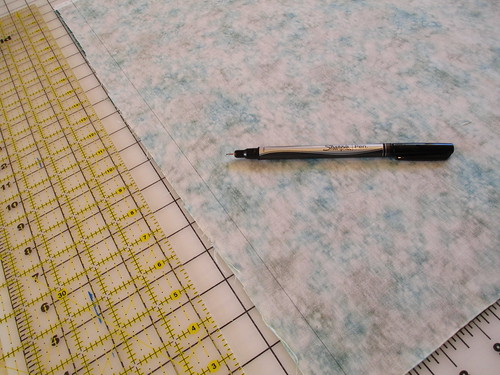
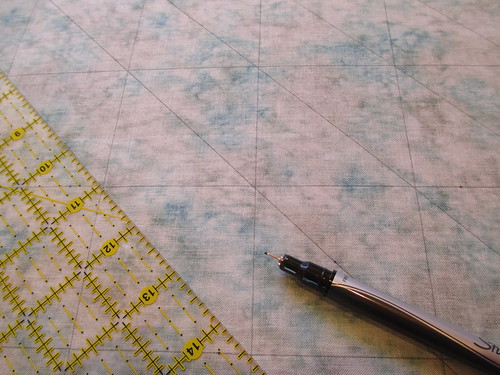
Draw lines parallel to your first vertical line a distance of 2 3/8 inches apart for finished HST’s of 1 1/2 inches:
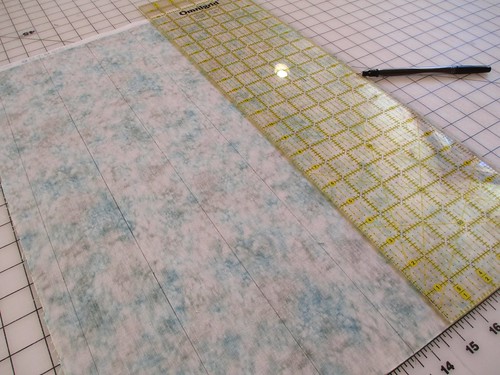
Draw lines the same distance apart at right angles from the short edge of the fabrics:
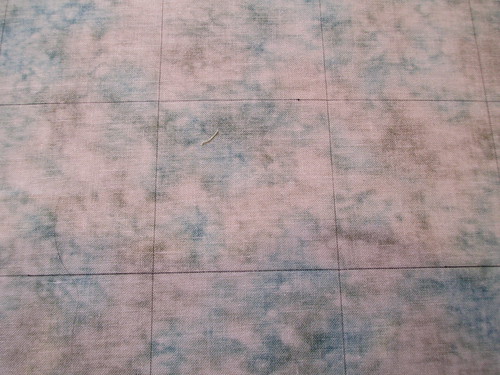
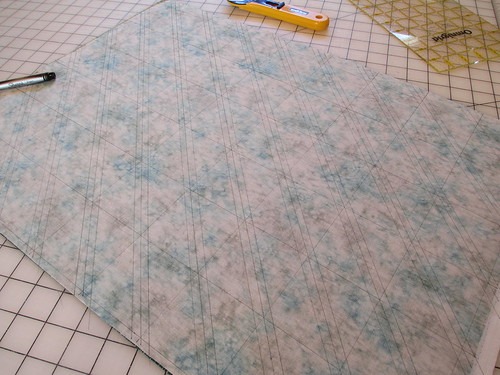
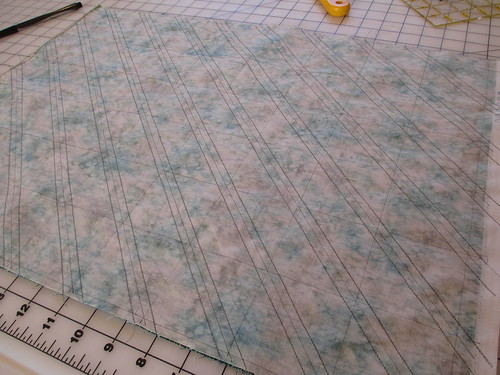
All the vertical and horizontal lines have been drawn at this point:
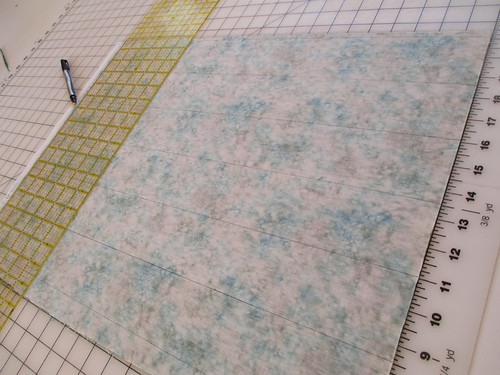
Draw lines from corner to corner of each drawn square in one direction only. All the diagonal lines will be parallel:
Draw lines a 1/4 inch from each side of the diagonal line. These will be the diagonal sewing lines:
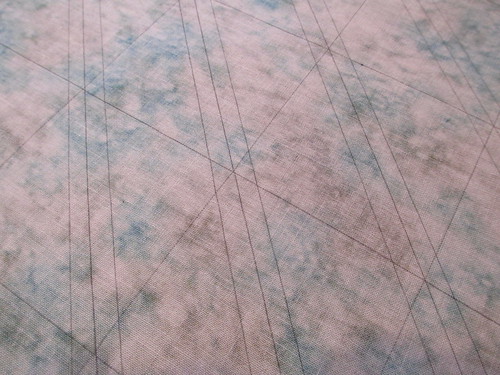
All the vertical, horizontal and diagonal lines have been drawn at this point:
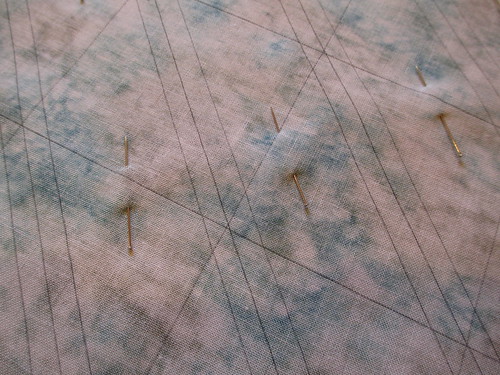
Pin lots of places between the diagonal lines, making sure you will have room to machine sew on the diagonal lines:

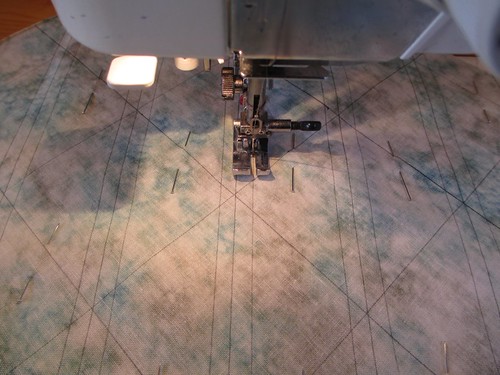
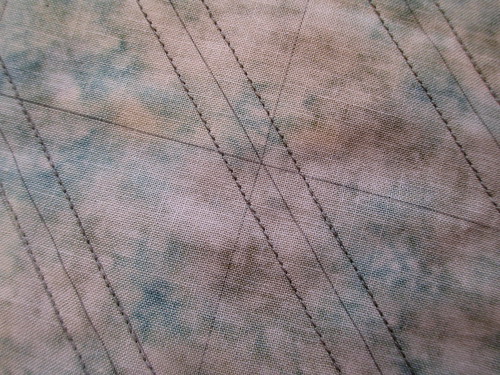
Sew on the diagonal lines just a needle’s width (scan 1/4 inch) inside the diagonal sewing lines:
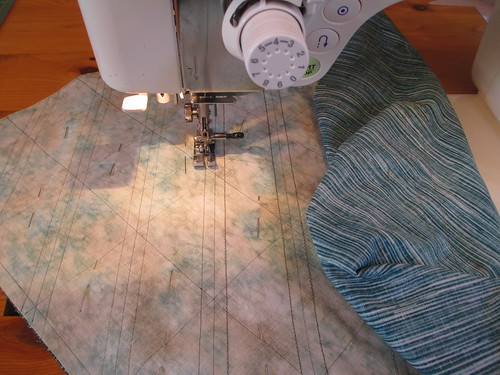
As your sewing progresses to the corners, lots of fabric will be in the throat of the machine. Loosely roll it up to keep it out of the way:
All the diagonal sewing lines have been sewn:
Using a 24 inch cutting ruler and rotary cutter, cut all the vertical lines:

Stack three strips at a time, off-setting the strips by about 1/4 inch and matching the horizontal drawn lines:
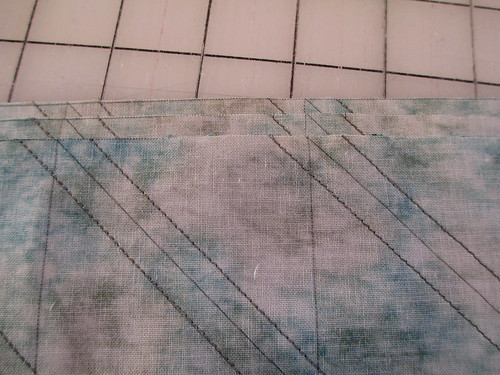
Using a cutting ruler and rotary cutter, cut all the horizontal lines:
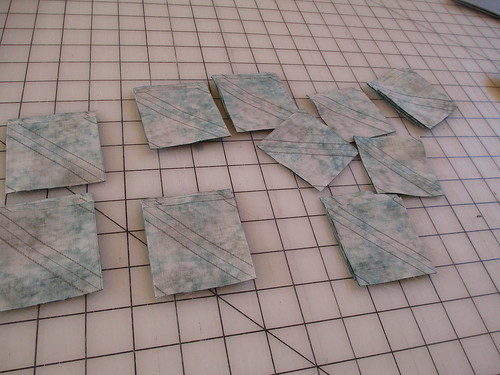
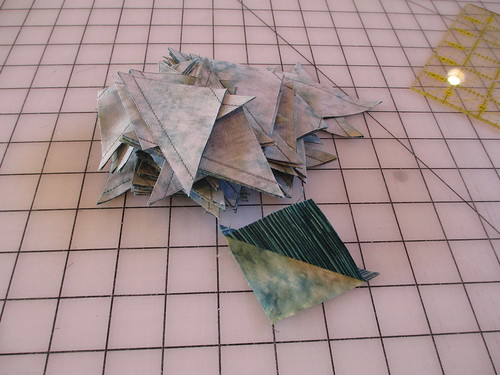
Cut all the diagonal lines between the sewn diagonal lines. The resulting stack of HST’s:
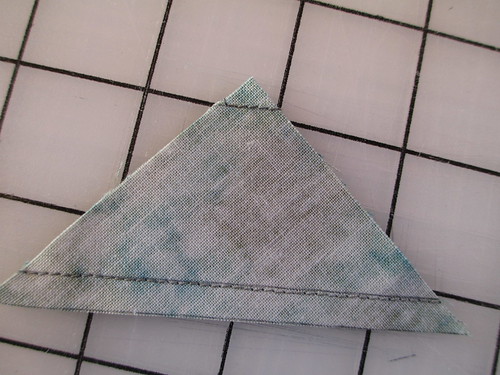
Most of the HST’s will have a short sewn corner. Insert your finger or a stiletto between the two layers of fabric and tug and these stitches will release and come out:
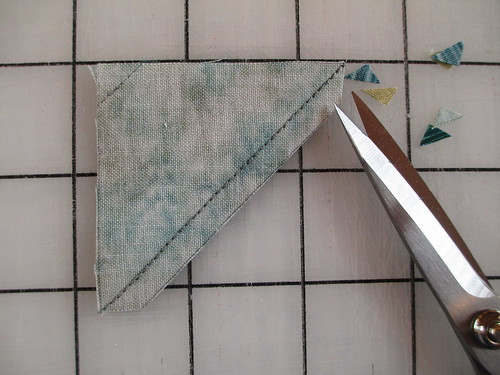
Using a small, sharp scissors trim the corners as shown:
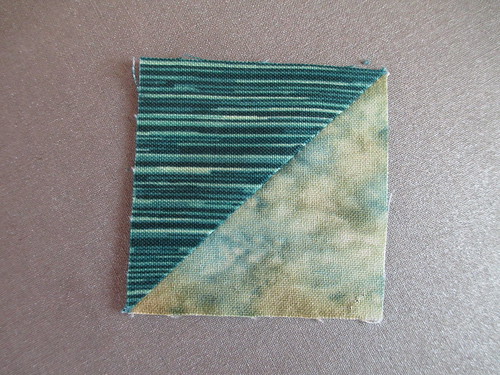
Press the seam of each HST toward the dark. Pressing from the right side makes it easy to avoid pleats at the seam line:
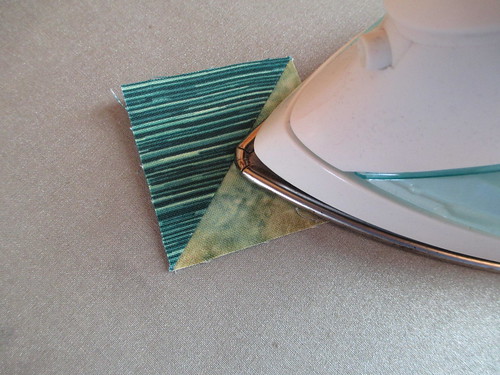
Pretty, isn’t it?
When I drew the lines on this sample I had a six by eight grid resulting in 48 squares and, eventually, 96 HST’s.

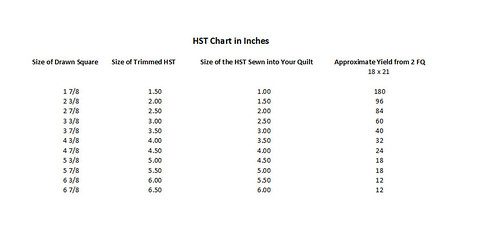
You can make these any size you want. Draw the squares 7/8 inch larger that the desired size of the HST as it will appear in your pieced quilt (sometimes referred to as “finished” size). The following chart may be helpful:


I am looking to make a queen size pinwheel quilt (yes, I’m a glutton for punishment) and will be working with a fat quarter bundle. When I keyed “make half square triangles from fat quarters” into google, this is the best tutorial of the many that came up, not only the method but also maximized use of the fabric. Pure genius… I can’t wait to start! Thank you so much.
I love all comments that connect me with the word “genius”. Enjoy your self imposed punishment!